How to Make Sugar Free Condensed Milk
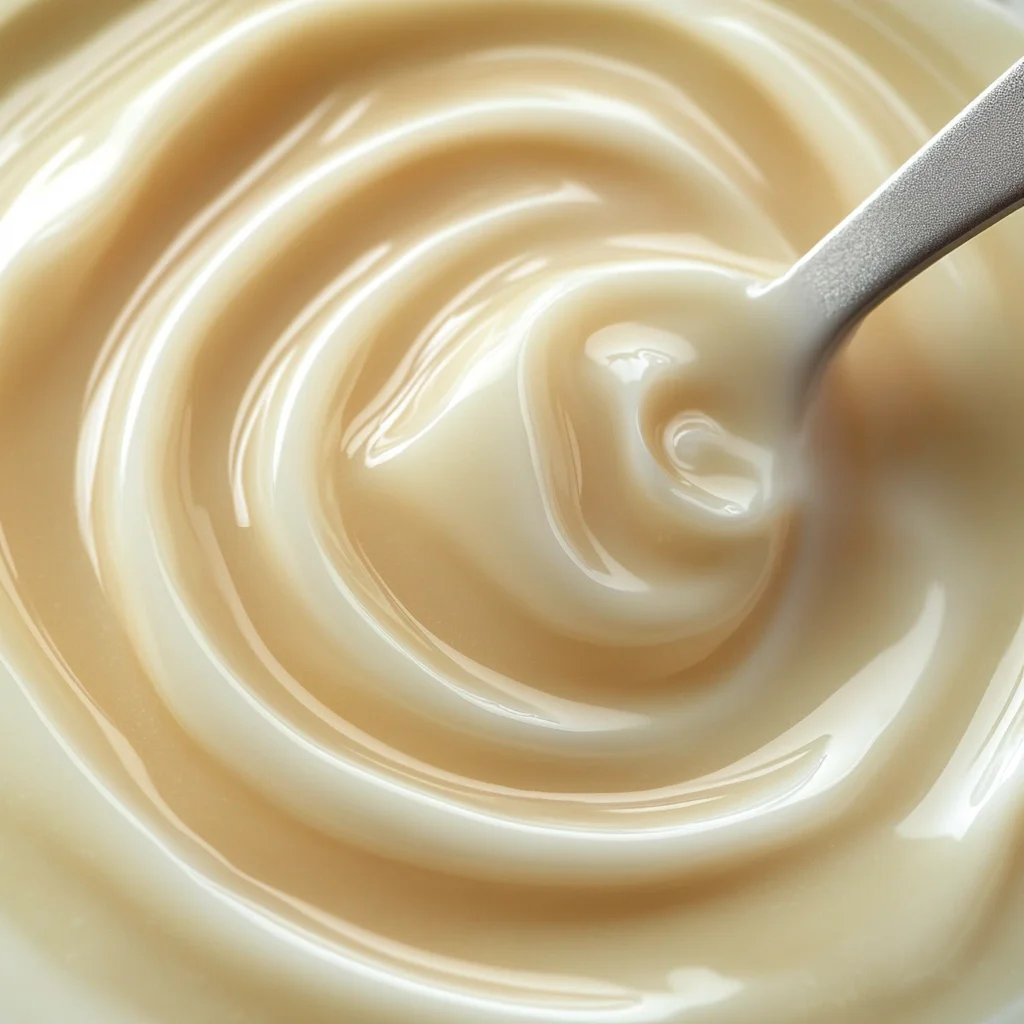
How to make Sugar Free Condensed Milk is an excellent way to enjoy a rich, creamy treat without the guilt of added sugars. This versatile ingredient can enhance many recipes, from desserts to snacks. Whether you’re crafting a sugar-free dessert or looking for a low-carb option, this recipe stands out for its simplicity and delicious flavor.
Why You’ll Love This Recipe
- Healthier Alternative: Enjoy the taste of condensed milk without the extra sugar and calories.
- Easy to Prepare: With just a few ingredients and simple steps, making sugar-free condensed milk is quick and hassle-free.
- Versatile Use: Perfect for coffee, desserts, or even as a topping for various dishes.
- Low Carb: A fantastic choice for those following a low-carb or ketogenic diet.
- Customizable: Adjust sweetness levels according to personal preference with different sugar alternatives.
Tools and Preparation
To whip up your own sugar-free condensed milk, you’ll need some essential tools. Having the right equipment helps streamline the process and ensures great results.
Essential Tools and Equipment
- Saucepan
- Whisk
- Measuring cups
- Measuring spoons
Importance of Each Tool
- Saucepan: A good-quality saucepan allows for even heating, which is crucial to achieving the right consistency without burning.
- Whisk: Using a whisk helps combine ingredients smoothly and prevents clumping while cooking.
Ingredients
For the Condensed Milk
- 12 ounces Evaporated Milk
- 1 cup Splenda
- 2 tbsp Butter
- 1/2 tsp Guar Gum
How to Make How to Make Sugar Free Condensed Milk
Step 1: Combine Ingredients
- Whisk together the evaporated milk with the Splenda.
- Heat this mixture on low-medium heat on the stove, stirring continually until it starts to bubble.
Step 2: Simmer Mixture
- Reduce the heat to low.
- Allow it to simmer while skimming off any layers that form as needed.
Step 3: Final Touches
- Remove from heat.
- Stir in the butter. If your desired thickness isn’t reached within an hour, add in the Guar Gum, stirring just before you mix in the butter.
This recipe yields approximately 12 servings, making it perfect for sharing or enjoying over several days! Whether drizzled over desserts or used in baking, this sugar-free condensed milk will become a staple in your kitchen.
How to Serve How to Make Sugar Free Condensed Milk
Sugar free condensed milk is a versatile ingredient that can enhance many desserts and snacks. Here are some delightful ways to serve your homemade sugar free condensed milk.
Use as a Sweetener
- Coffee or Tea: Add a splash of sugar free condensed milk to your morning brew for a creamy sweetness.
- Smoothies: Blend it into smoothies for natural creaminess without added sugar.
Drizzle Over Desserts
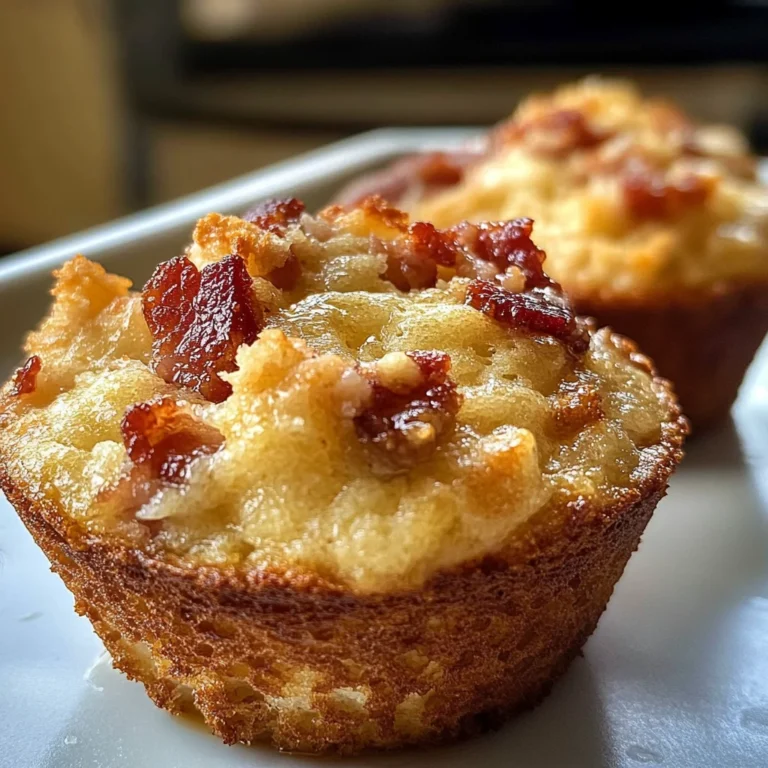
- Pancakes and Waffles: Pour over stacks of pancakes or waffles for an indulgent breakfast treat.
- Ice Cream: Use it as a topping for sugar free ice cream or yogurt to elevate the flavor.
Incorporate in Baking
- Cookies: Substitute traditional sweeteners in cookie recipes with sugar free condensed milk for moist, flavorful results.
- Cakes: Use it in cake batters for added moisture and sweetness without the calories.
How to Perfect How to Make Sugar Free Condensed Milk
Perfecting your sugar free condensed milk can elevate your recipes. Here are some helpful tips to ensure the best results.
- Use Fresh Ingredients: Always start with fresh evaporated milk for the best flavor and texture.
- Monitor Heat Carefully: Keep the heat low-medium to prevent burning, which can alter the taste.
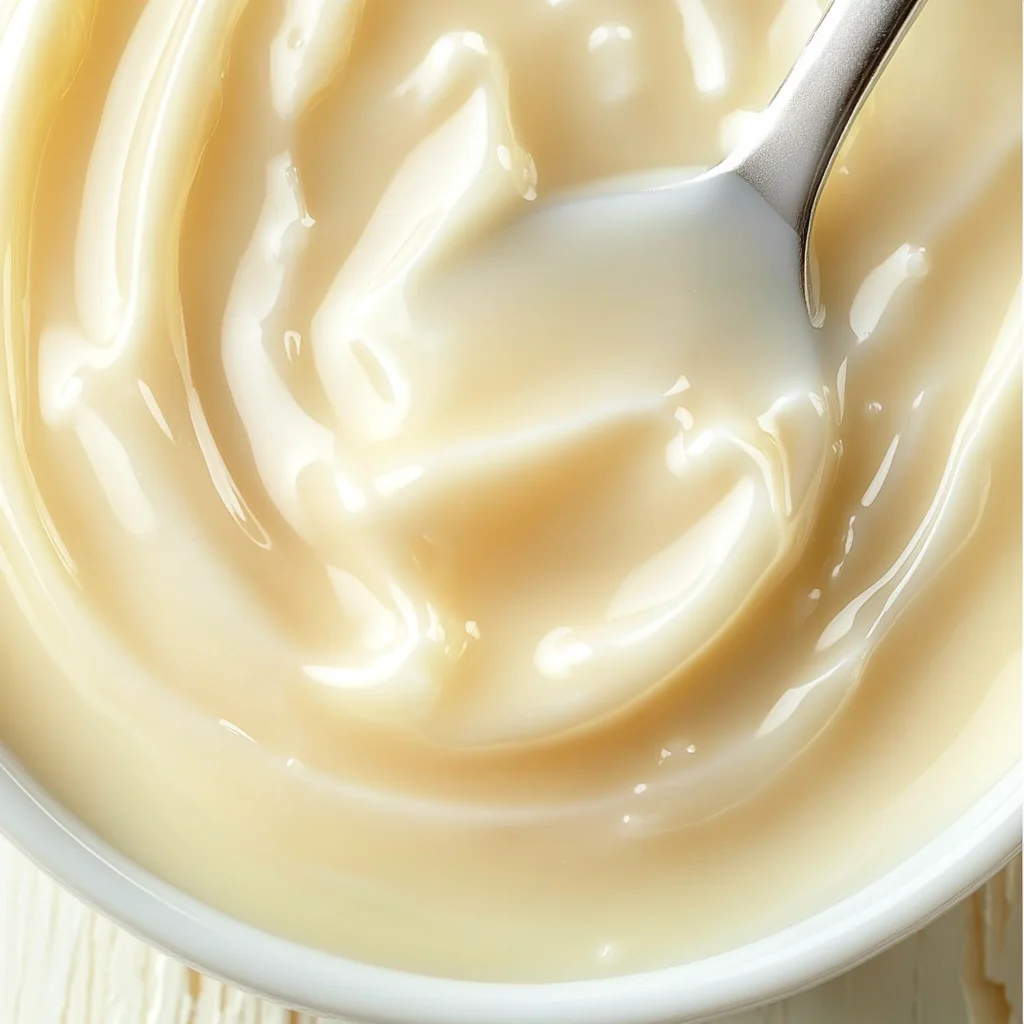
- Stir Constantly: Continuous stirring helps achieve a smooth consistency and prevents sticking.
- Adjust Thickness: If too thin, simmer longer; if too thick, add a bit more evaporated milk until desired consistency is reached.
Best Side Dishes for How to Make Sugar Free Condensed Milk
Pairing side dishes with sugar free condensed milk can make your meals even more enjoyable. Here are some great options.
- Fruit Salad: A refreshing mix of seasonal fruits that pairs well with the creamy texture of condensed milk.
- Nutty Granola Bars: Homemade bars made with oats and nuts can be drizzled with sugar free condensed milk for extra flavor.
- Greek Yogurt Parfait: Layer Greek yogurt with fruits and top with sugar free condensed milk for a healthy dessert.
- Coconut Rice Pudding: A delightful combination of rice and coconut flavors enhanced by sweetened condensed milk.
- Chia Pudding: Mix chia seeds with almond milk and add sugar free condensed milk for a rich, satisfying treat.
- Mini Cheesecakes: Create bite-sized cheesecakes using the sweetened condiment for luscious flavor in each bite.
Common Mistakes to Avoid
Making sugar-free condensed milk can be simple, but there are common pitfalls. Avoid these mistakes for the best results.
- Skipping the whisking: Whisking the evaporated milk with the sugar alternative is crucial. It ensures a smooth blend and prevents clumps.
- High heat misuse: Cooking on high heat can cause burning. Always keep it on low-medium to allow even cooking without scalding.
- Ignoring thickness: If you don’t monitor the thickness, you might end up with a watery mixture. Stir periodically to achieve your desired consistency.
- Not skimming off layers: Skimming off foam during simmering helps improve texture. Don’t skip this step for better results.
- Overlooking Guar Gum usage: If your mixture isn’t thickening as desired, adding Guar Gum at the right time is essential for achieving that perfect consistency.
Storage & Reheating Instructions
Refrigerator Storage
- Store in an airtight container for up to 5 days.
- Ensure it cools completely before sealing to prevent moisture buildup.
Freezing How to Make Sugar Free Condensed Milk
- Freeze in small portions using ice cube trays or freezer-safe containers.
- It can last up to 3 months in the freezer, maintaining flavor and quality.
Reheating How to Make Sugar Free Condensed Milk
- Oven: Preheat the oven to a low temperature and warm gradually to avoid separation.
- Microwave: Heat in short intervals, stirring in between until warmed through.
- Stovetop: Place it in a saucepan over low heat, stirring continuously until heated evenly.
Frequently Asked Questions
Here are some common questions about making sugar-free condensed milk.
How to Make Sugar Free Condensed Milk taste better?
You can enhance its flavor by adding vanilla extract or a pinch of salt. This will create a more balanced taste profile.
Can I use other sweeteners?
Yes! Alternatives like erythritol or monk fruit sweetener can also work well. Choose one that suits your taste preferences.
How long does homemade sugar free condensed milk last?
It lasts about 5 days in the fridge and up to 3 months if frozen properly.
What recipes can I use sugar free condensed milk in?
This versatile ingredient works well in desserts, coffee, or even as a base for sauces and frostings.
Final Thoughts
How to make sugar free condensed milk offers a delightful way to enjoy sweet flavors without added sugars. This recipe is not only simple but also allows for customization—feel free to experiment with different flavors or sweeteners. Try it out today!
How to Make Sugar Free Condensed Milk
Sugar-free condensed milk is a delightful and guilt-free alternative to traditional sweeteners, perfect for enhancing your favorite recipes. This creamy, rich treat allows you to indulge without the added sugars or calories. With just a few simple ingredients, you can whip up this versatile ingredient that pairs beautifully with coffee, desserts, and even in baking. Whether you are following a low-carb diet or simply seeking healthier options, this easy-to-make recipe will quickly become a staple in your kitchen.
- Prep Time: 5 minutes
- Cook Time: 60 minutes
- Total Time: 1 hour 5 minutes
- Yield: Approximately 12 servings 1x
- Category: Dessert
- Method: Stovetop
- Cuisine: American
Ingredients
- 12 ounces evaporated milk
- 1 cup Splenda (or preferred sugar alternative)
- 2 tablespoons butter
- 1/2 teaspoon guar gum (optional for thickness)
Instructions
- Combine evaporated milk and Splenda in a saucepan. Whisk until well blended.
- Cook over low-medium heat, stirring continuously until the mixture starts to bubble.
- Reduce the heat to low and let it simmer. Skim off any foam that forms.
- After about an hour, remove from heat and stir in the butter. If the desired thickness isn’t reached, add guar gum before mixing in the butter.
Nutrition
- Serving Size: 1 tablespoon (15g)
- Calories: 34
- Sugar: 0g
- Sodium: 10mg
- Fat: 2g
- Saturated Fat: 1g
- Unsaturated Fat: 1g
- Trans Fat: 0g
- Carbohydrates: 3g
- Fiber: 0g
- Protein: 1g
- Cholesterol: 5mg