Cheesy Hatch Chile Rellenos
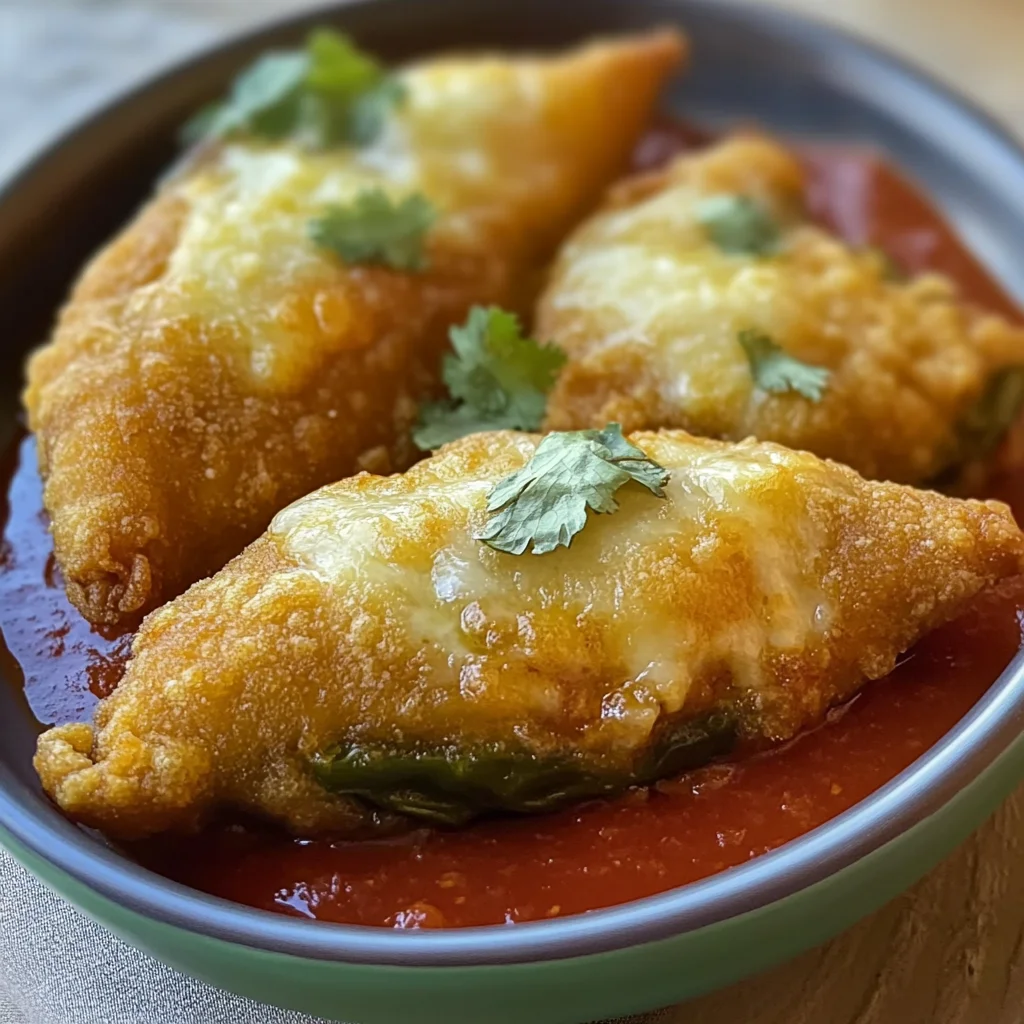
Delicious Cheesy Hatch Chile Rellenos are a perfect treat for any gathering, offering a delightful combination of flavors and textures. This dish showcases the unique taste of hatch chiles and melty cheese, making it an enticing option for dinners, parties, or family meals. The crispy outer layer perfectly complements the soft and cheesy filling, creating a memorable dish that everyone will love.
Why You’ll Love This Recipe
- Irresistible Flavor: The combination of roasted hatch chiles and gooey cheese creates a mouth-watering flavor profile that is hard to resist.
- Versatile Dish: Enjoy these cheesy chiles as a main course, appetizer, or side dish; they fit any occasion.
- Easy to Make: With straightforward steps, this recipe is accessible for cooks of all skill levels.
- Customizable Heat: Adjust the spice level by adding jalapenos or opting out based on your preference.
- Fresh Ingredients: Made with wholesome ingredients like tomatoes and cilantro, this recipe packs in freshness.
Tools and Preparation
To create these delightful Cheesy Hatch Chile Rellenos, you’ll need some essential kitchen tools. Having the right equipment makes preparation smoother and more efficient.
Essential Tools and Equipment
- Baking sheet
- Ziplock bag
- Mixing bowls
- Blender
- Deep frying pan
Importance of Each Tool
- Baking sheet: Ideal for broiling the chiles evenly without mess.
- Blender: Perfect for creating a smooth sauce that enhances the flavors of your dish.
- Deep frying pan: Helps achieve that perfect crispy texture while frying the stuffed chiles.
Ingredients
For the Chiles
- 8 hatch green chiles
- 8 to 10 oz Oaxaca cheese (or a similar melting cheese)
- 6 large eggs, separated
- 2/3 cup all-purpose flour
- 1 tsp salt
- 1 tsp garlic powder
- Vegetable oil, for frying
For the Sauce
- 5 medium tomatoes (Roma or any fresh variety)
- 1 small white onion
- 5 garlic cloves
- 2 tbsp chopped cilantro
- 1 tsp salt
- 1/4 cup sliced jalapenos (optional)
How to Make Cheesy Hatch Chile Rellenos
Step 1: Roast the Chiles
Place the hatch green chiles on a foil-lined baking sheet. Broil them for 5-10 minutes until the skins are blackened. Flip the chiles and broil for another 5-10 minutes. Once done, transfer them to a gallon-sized ziplock bag to steam for 10-15 minutes to make peeling easier.
Step 2: Prepare the Chiles
After steaming, remove the chiles from the bag and peel off their skins gently. Cut a slit down one side of each chile and remove seeds carefully. Stuff each chile with Oaxaca cheese or similar melting cheese and seal them using toothpicks.
Step 3: Whip Egg Whites
Separate egg whites into a mixing bowl and yolks into another cup. Beat egg whites on high speed until stiff peaks form. Then reduce speed to low, slowly adding yolks until combined. The batter should be light and foamy.
Step 4: Prepare Flour Mixture
In a shallow dish, mix together all-purpose flour, 1 teaspoon salt, and garlic powder. This mixture helps ensure that the batter sticks well to your chiles.
Step 5: Fry the Chiles
Heat vegetable oil in a deep pan to 350°F (175°C). Dredge each stuffed chile in flour mixture before dipping it into egg batter. Carefully place each chile in hot oil and fry for about 2-3 minutes per side until golden brown. Remove fried chiles from oil and let drain on paper towels.
Step 6: Make the Sauce
Blend tomatoes, onion, garlic cloves, chopped cilantro, salt (and jalapenos if desired) until smooth. Transfer sauce to a medium saucepan over medium heat until boiling; then reduce to low simmer until ready to serve.
Step 7: Serve Hot
Plate your hot fried chiles rellenos immediately with red sauce from step six. They can also be accompanied by salsa verde or Mexican crema if desired. Enjoy your freshly made cheesy delights while they’re piping hot!
How to Serve Cheesy Hatch Chile Rellenos
Serving Cheesy Hatch Chile Rellenos can elevate your meal experience. This dish is not only delicious but also versatile, allowing you to pair it with a variety of sides and sauces.
With Fresh Salsa
- Pico de Gallo – A fresh mix of diced tomatoes, onions, cilantro, and lime juice adds a zesty flavor.
- Salsa Verde – This tangy green sauce made from tomatillos and jalapenos complements the richness of the chiles.
Topped with Crema
- Mexican Crema – Drizzle this creamy topping over the chiles for added richness and a hint of acidity.
- Avocado Crema – Blend ripe avocados with lime juice and herbs for a smooth, flavorful alternative.
On a Bed of Rice
- Cilantro Lime Rice – Fluffy rice flavored with cilantro and lime enhances the overall taste of the dish.
- Spanish Rice – A spiced tomato-based rice pairs perfectly with the cheesy filling.
Accompanied by Beans
- Refried Beans – Creamy refried beans provide a hearty side that balances the dish’s flavors.
- Black Beans – Seasoned black beans offer a protein-packed side that complements the chiles well.
How to Perfect Cheesy Hatch Chile Rellenos
To ensure your Cheesy Hatch Chile Rellenos turn out perfectly every time, consider these helpful tips.
- Choose Fresh Chiles – The best flavor comes from fresh hatch chiles. Look for firm, blemish-free peppers.
- Don’t Overstuff – While it’s tempting to pack in cheese, overstuffing can cause chiles to burst during frying.
- Beat Egg Whites Well – Ensure you whip the egg whites until stiff peaks form; this creates a light batter that helps the chiles stay crispy.
- Maintain Oil Temperature – Use a thermometer to keep oil at 350°F; too low will make them greasy, while too high may burn them.
- Fry in Batches – Frying just two or three chiles at a time ensures they cook evenly without cooling down the oil.
- Serve Immediately – For the best texture and flavor, serve your chiles right after frying while they are hot and crispy.
Best Side Dishes for Cheesy Hatch Chile Rellenos
Pairing sides with your Cheesy Hatch Chile Rellenos can enhance your dining experience. Here are some great options:
- Guacamole – Creamy avocado dip adds richness and complements the spicy chiles.
- Corn Salad – A fresh corn salad with lime vinaigrette brings sweetness and crunch to your meal.
- Mexican Street Corn (Elote) – Grilled corn on the cob slathered in mayonnaise, cheese, and chili powder adds bold flavors.
- Chips and Salsa – Crispy tortilla chips paired with fresh salsa provide a satisfying crunch before your main dish.
- Grilled Vegetables – Charred veggies like zucchini and bell peppers offer smoky flavors that balance the richness of the chiles.
- Potato Wedges – Seasoned baked or fried potato wedges make for a hearty side that everyone loves.
- Tortilla Soup – A light soup garnished with tortilla strips is a comforting start to your meal.
- Cabbage Slaw – A simple slaw provides crunch and acidity, cutting through the richness of the cheese-filled chiles.
Common Mistakes to Avoid
When making Cheesy Hatch Chile Rellenos, it’s easy to overlook some key details. Avoid these common mistakes for the best results.
- Overcooking the Chiles: If the chiles are cooked too long during broiling, they may become too soft and difficult to handle. Broil just until the skins are blistered and blackened.
- Skipping the Steaming Step: Failing to steam the chiles after broiling can make peeling them very difficult. Always place them in a ziplock bag for steaming to loosen the skins.
- Not Sealing Properly: Leaving chiles open can lead to cheese spilling out during frying. Use toothpicks effectively to seal each chile after stuffing them with cheese.
- Ignoring Oil Temperature: Frying at the wrong temperature can lead to soggy or burnt chiles. Ensure your oil is at 350°F (175°C) before adding the stuffed chiles.
- Neglecting Flavor in the Sauce: A bland sauce can detract from your dish. Consider roasting tomatoes and onions for a richer flavor before blending.

Storage & Reheating Instructions
Refrigerator Storage
- Store in an airtight container for up to 3 days.
- Allow to cool completely before sealing to prevent moisture buildup.
Freezing Cheesy Hatch Chile Rellenos
- Freeze in a single layer on a baking sheet before transferring them to an airtight container.
- They can be frozen for up to 2 months.
Reheating Cheesy Hatch Chile Rellenos
- Oven: Preheat to 350°F (175°C) and reheat for about 15-20 minutes until heated through.
- Microwave: Place on a microwave-safe plate and heat in short intervals, checking every minute until warm.
- Stovetop: Heat on medium-low in a skillet, flipping occasionally until warmed through.
Frequently Asked Questions
Here are some common questions about making Cheesy Hatch Chile Rellenos.
Can I use other types of cheese?
Yes, feel free to substitute Oaxaca cheese with any melting cheese like Monterey Jack or mozzarella for similar results.
How do I ensure my Cheesy Hatch Chile Rellenos stay crispy?
Make sure your oil is hot enough before frying and avoid overcrowding the pan, which can lower the oil temperature.
Can I make Cheesy Hatch Chile Rellenos ahead of time?
Absolutely! You can prepare and stuff the chiles ahead of time, then store them in the fridge until you’re ready to fry.
What should I serve with Cheesy Hatch Chile Rellenos?
These tasty rellenos pair well with rice, beans, or a fresh salad for a complete meal.
Final Thoughts
Cheesy Hatch Chile Rellenos are a delightful blend of flavors and textures that make them perfect for any occasion. Their versatility allows for customization—feel free to add your favorite spices or toppings. Try this recipe today and enjoy an explosion of taste!
Cheesy Hatch Chile Rellenos

Indulge in the delightful flavors of Cheesy Hatch Chile Rellenos, a perfect dish for any occasion. These stuffed chiles are filled with melty cheese and coated in a light, crispy batter, creating a satisfying contrast of textures that will leave everyone wanting more. The roasted hatch chiles bring a unique flavor to the table while the accompanying sauce enhances the overall experience. Whether served as an appetizer or main course, these cheesy delights are sure to impress family and friends at your next gathering.
- Prep Time: 20 minutes
- Cook Time: 20 minutes
- Total Time: 40 minutes
- Yield: Serves 4 (2 stuffed chiles per serving) 1x
- Category: Dinner
- Method: Frying
- Cuisine: Mexican
Ingredients
- 8 hatch green chiles
- 8 to 10 oz Oaxaca cheese (or similar melting cheese)
- 6 large eggs, separated
- 2/3 cup all-purpose flour
- 5 medium tomatoes
- 1 small white onion
- 5 garlic cloves
- Vegetable oil for frying
Instructions
- Roast chiles on a foil-lined baking sheet under the broiler until skins are blackened. Transfer to a ziplock bag to steam for easier peeling.
- Peel cooled chiles, slit them open, and remove seeds. Stuff each with cheese and secure with toothpicks.
- Beat egg whites until stiff peaks form; then fold in yolks.
- Coat stuffed chiles in flour mixture, dip in egg batter, and fry in hot oil until golden brown.
- Blend tomatoes, onion, garlic, and cilantro into a sauce; heat until bubbling.
- Serve fried chiles with sauce immediately.
Nutrition
- Serving Size: 1 stuffed chile (150g)
- Calories: 230
- Sugar: 3g
- Sodium: 350mg
- Fat: 12g
- Saturated Fat: 4g
- Unsaturated Fat: 7g
- Trans Fat: 0g
- Carbohydrates: 25g
- Fiber: 3g
- Protein: 9g
- Cholesterol: 200mg