Flaky Gluten Free Pastries
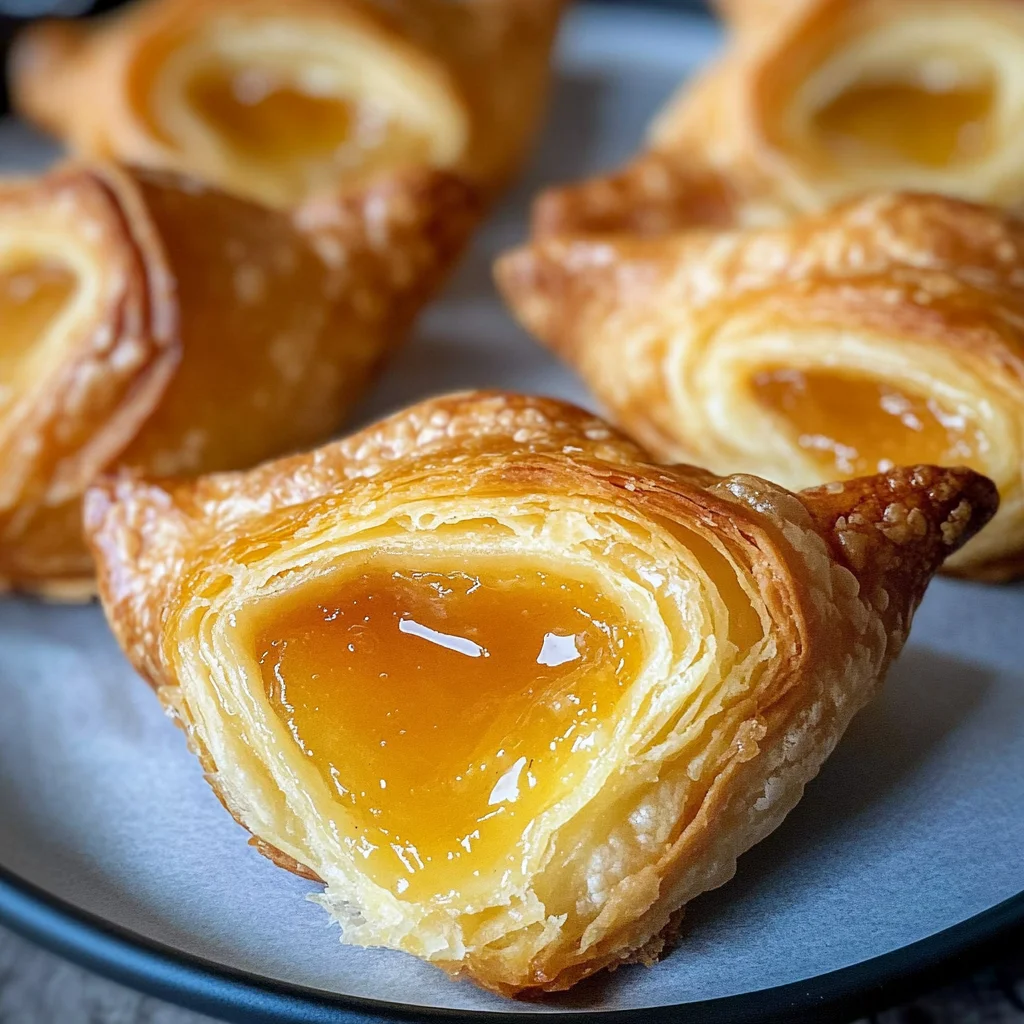
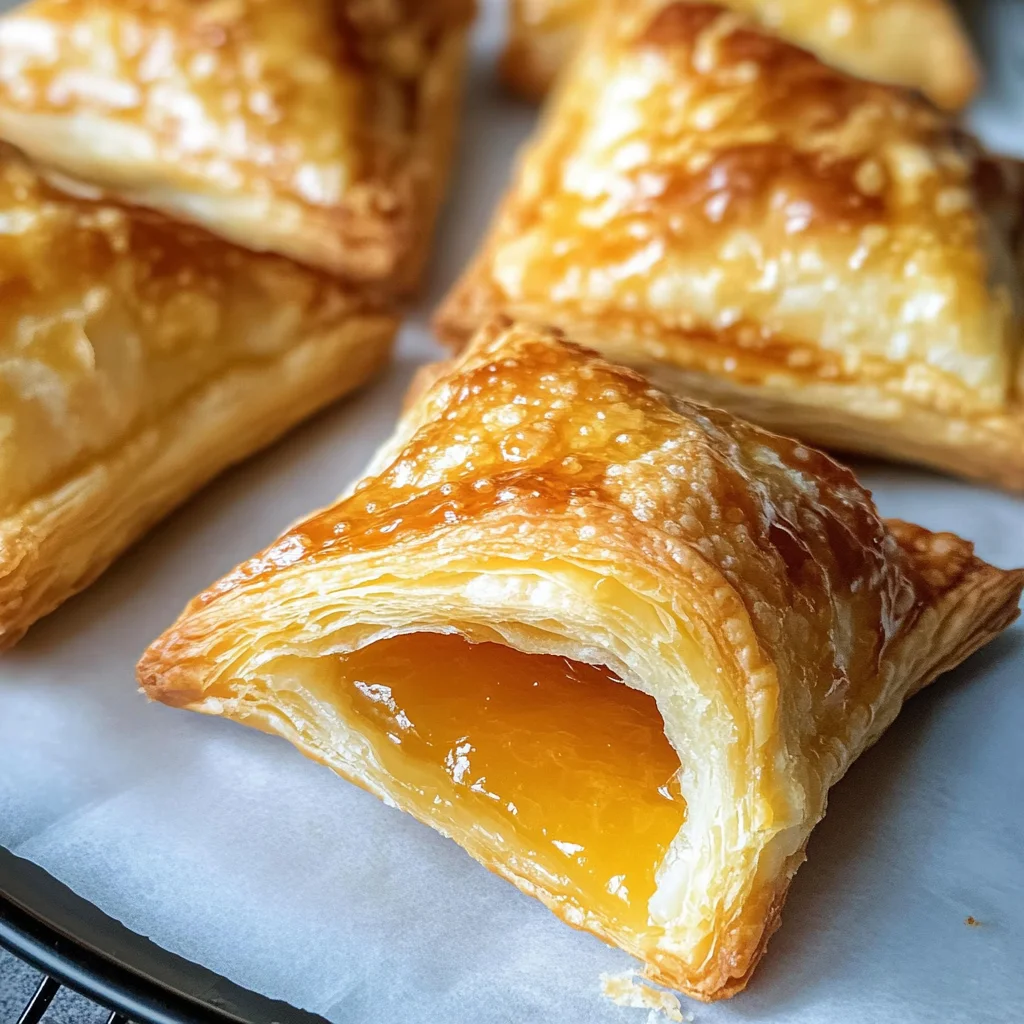
Flaky Gluten Free Pastries are a delightful treat that brings the flaky, buttery goodness of traditional French pastries to those who follow a gluten-free diet. Perfect for breakfast, brunch, or an afternoon snack, these pastries can be filled with your favorite sweet fillings like jam or Nutella. Their unique texture and flavor make them a standout choice for any occasion!
Why You’ll Love This Recipe
- Easy to Make: With simple ingredients and straightforward steps, you can whip up these pastries in no time.
- Versatile Filling Options: Use any filling you desire—fruit jams, chocolate spreads, or even savory options!
- Perfectly Flaky Texture: The lamination process creates layers that ensure a light and flaky bite every time.
- Gluten Free Delight: Enjoy classic pastry flavors without gluten, making it suitable for everyone.
- Great for Sharing: These pastries are perfect for gatherings, ensuring everyone can indulge in a delicious treat.
Tools and Preparation
To successfully create your Flaky Gluten Free Pastries, having the right tools is essential. Here’s what you’ll need to get started.
Essential Tools and Equipment
- Mixing bowl
- Rolling pin
- Silicone mat
- Sharp knife
- Plastic wrap
- Baking sheet
Importance of Each Tool
- Mixing bowl: A large bowl is crucial for combining dry ingredients and forming the dough without spills.
- Rolling pin: This tool helps achieve the perfect thickness of dough for optimal layering.
- Silicone mat: Prevents sticking while rolling out dough and makes clean-up easier.
Ingredients
If you love flaky French pastry, you will want to dive right into this gluten free pastries recipe. You can fill gluten free pastry dough with jam, pastry cream, Nutella, or any filling you like.
Ingredients:
– 2 1/2 cup gluten free flour blend ( see note!)
– 1/4 cup cane sugar
– 1/8 teaspoon salt
– 3/4-1 cup cold water (Use purified water.)
– 1/2 cup unsalted COLD butter (COLD)
– 1 small egg (for the egg wash)
– Use any filling you like, including jam, Nutella, etc.
How to Make Flaky Gluten Free Pastries
Step 1: Combine Dry Ingredients
- Add 2 1/2 cup gluten free flour blend, 1/4 cup cane sugar, and 1/8 teaspoon salt to a large mixing bowl.
- Whisk the dry ingredients together until well blended.
Step 2: Add Water and Butter
- Pour in 3/4-1 cup cold water into the dry mixture.
- Mix until combined; then add the cold 1/2 cup unsalted COLD butter cut into chunks.
- Use a fork or your hands to mix until big lumps of butter form within the dough.
Step 3: Chill the Dough
- Wrap the dough tightly in plastic wrap and refrigerate for 30-45 minutes.
- If too cold after chilling, let it sit on the counter for a few minutes until it softens slightly.
Step 4: Laminate the Dough
- Place the chilled dough onto a gluten-free flour-dusted silicone mat.
- Roll out to about 1/4 inch thickness in one direction.
- Fold one side of the dough up past the middle (envelope fold), then fold the other side over it.
Step 5: Repeat Lamination Process
- Cover the butter with dough; visible butter streaks are good!
- Dust with flour as needed to prevent sticking; if soft spots appear, chill again.
- Repeat this rolling and folding process six more times.
Step 6: Final Chill and Shape
- After completing six folds, wrap it in plastic wrap and refrigerate again for another 30-45 minutes.
- Dust your surface once more and roll out to about 1/4-inch thickness.
Step 7: Cut & Fill Pastries
- Cut into rectangles using a sharp knife without dragging it back and forth.
- Fill with your chosen filling such as orange marmalade or chocolate.
Step 8: Bake
- Preheat your oven to 425º F and freeze pastries for about 15 minutes before baking.
- Brush each pastry with egg wash before placing them in the oven.
- Bake for about 15-20 minutes until golden; lower temperature if needed to avoid burning.
Step 9: Cool & Enjoy
Remove from oven and place on a cooling rack—allow them to cool slightly before enjoying!
How to Serve Flaky Gluten Free Pastries
Flaky gluten free pastries are a delightful treat that can be enjoyed in various ways. Their versatility allows them to shine as a breakfast item, snack, or even a dessert. Here are some serving suggestions to elevate your pastry experience.
With Fresh Fruit
- Serve with sliced strawberries or blueberries for a refreshing contrast.
- Pair with caramelized apples for a warm, comforting flavor.
As a Breakfast Item
- Fill with scrambled eggs and cheese for a savory morning option.
- Add almond butter and banana slices for a healthy twist.
Drizzled with Glaze
- Top with a simple powdered sugar glaze for added sweetness.
- Consider a chocolate drizzle for an indulgent touch.
Alongside Coffee or Tea
- Enjoy with a cup of coffee to complement the flaky texture.
- Pair with herbal tea for a calming afternoon snack.
How to Perfect Flaky Gluten Free Pastries
To achieve the ideal flaky texture in your gluten free pastries, keep these tips in mind:
- Use Cold Ingredients: Ensure all ingredients, especially butter, are very cold. This helps create those sought-after flaky layers.
- Don’t Overwork the Dough: Handle the dough gently to maintain the lumps of butter that create flakiness.
- Chill Between Layers: Refrigerate the dough after each lamination step. This keeps it firm and easy to work with.
- Dust Your Surface: Always dust your work surface and rolling pin with gluten free flour to prevent sticking and tearing.
- Be Mindful of Baking Temperature: Start baking at a higher temperature to create steam that helps puff up your pastries.
Best Side Dishes for Flaky Gluten Free Pastries
Flaky gluten free pastries pair wonderfully with various side dishes that can enhance their flavor. Here are some great options:
- Fresh Fruit Salad: A mix of seasonal fruits adds brightness and freshness.
- Yogurt Parfait: Layer yogurt with granola and berries for a creamy contrast.
- Mixed Greens Salad: A light salad drizzled with vinaigrette balances the richness of the pastries.
- Cheese Platter: Offer an assortment of cheeses to complement both sweet and savory fillings.
- Soup: A warm bowl of tomato soup or butternut squash soup pairs beautifully on cooler days.
- Sliced Avocado Toast: The creaminess of avocado works well alongside flaky textures.
- Savory Quiche: A slice of quiche adds protein and makes for a filling meal when served together.
Common Mistakes to Avoid
When making flaky gluten free pastries, it’s easy to make mistakes that can impact the final result. Here are some common pitfalls and how to avoid them.
- Using warm ingredients: Always ensure that your butter and water are cold. Warm ingredients can prevent the dough from becoming flaky.
- Skipping the chilling steps: Chilling the dough is crucial for proper lamination. Skipping this step will lead to less flakiness.
- Not dusting surfaces properly: Failing to dust your silicone mat or work surface with gluten-free flour can cause the dough to stick, making it hard to roll out.
- Overworking the dough: Mixing too much can develop gluten, which you want to avoid in gluten free pastries. Mix just until combined.
- Sealing edges when cutting: When cutting the dough, use a sharp knife without dragging. This keeps the edges open for maximum flakiness.
Storage & Reheating Instructions
Refrigerator Storage
- Store flaky gluten free pastries in an airtight container.
- They can be kept in the refrigerator for up to 3 days.
Freezing Flaky Gluten Free Pastries
- Wrap each pastry tightly in plastic wrap before placing them in a freezer-safe bag.
- They can be frozen for up to 2 months.
Reheating Flaky Gluten Free Pastries
- Oven: Preheat your oven to 350º F and bake for 5-10 minutes until heated through.
- Microwave: Heat on medium power for 20-30 seconds. Be cautious as this may soften the pastry.
- Stovetop: Use a skillet over low heat, turning frequently for even warming.
Frequently Asked Questions
Here are some common questions about flaky gluten free pastries that might help you out.
What is the best gluten free flour blend for flaky gluten free pastries?
A blend that includes a mix of rice flour, potato starch, and tapioca flour usually works best for achieving a light texture in pastries.
Can I use dairy-free butter in flaky gluten free pastries?
Yes! Dairy-free butter is an excellent substitute. Just ensure it remains cold when mixing with your dry ingredients.
How do I know when my flaky gluten free pastries are done baking?
Look for a slightly golden color on top. You can also gently press on the pastry; it should feel firm but not hard.
What fillings work well with flaky gluten free pastries?
You can fill them with jam, chocolate spread like Nutella, fresh fruit, or pastry cream. The options are endless!
Can I make these pastries ahead of time?
Absolutely! You can prepare and freeze them before baking. Just remember to thaw and bake them when you’re ready.
Final Thoughts
Flaky gluten free pastries are not only delicious but also versatile. They can be customized with various fillings to suit any taste preference. Whether you’re enjoying them for breakfast or dessert, these pastries will surely satisfy your cravings. Don’t hesitate to try this recipe and explore all the delightful variations!
Flaky Gluten Free Pastries

Flaky Gluten Free Pastries are a delicious alternative for anyone following a gluten-free diet, offering the same delightful texture and flavor as traditional French pastries. Perfect for breakfast, brunch, or an afternoon snack, these pastries can be filled with sweet fillings like jam or Nutella, making them a versatile treat for any occasion. The lamination process creates light, airy layers that melt in your mouth, ensuring everyone can indulge in their flaky goodness. Whether you’re hosting a gathering or simply craving a cozy snack, these pastries will elevate your culinary experience.
- Prep Time: 20 minutes
- Cook Time: 20 minutes
- Total Time: 40 minutes
- Yield: Approximately 10 servings 1x
- Category: Desserts
- Method: Baking
- Cuisine: French
Ingredients
- 2 1/2 cups gluten free flour blend
- 1/4 cup cane sugar
- 1/8 teaspoon salt
- 3/4–1 cup cold purified water
- 1/2 cup unsalted cold butter
- 1 small egg (for egg wash)
- Your choice of filling (jam, Nutella, etc.)
Instructions
- In a mixing bowl, whisk together the gluten-free flour blend, sugar, and salt.
- Gradually mix in cold water until combined; add chunks of cold butter and mix until butter lumps form.
- Wrap the dough in plastic wrap and chill for 30-45 minutes.
- Roll out the chilled dough on a floured surface and fold it to create layers; repeat this step six times.
- Chill again for another 30-45 minutes before rolling out to desired thickness.
- Cut into rectangles, fill with your chosen filling, and bake at 425ºF for 15-20 minutes after freezing for 15 minutes.
Nutrition
- Serving Size: 1 serving
- Calories: 210
- Sugar: 4g
- Sodium: 80mg
- Fat: 12g
- Saturated Fat: 7g
- Unsaturated Fat: 5g
- Trans Fat: 0g
- Carbohydrates: 23g
- Fiber: 2g
- Protein: 3g
- Cholesterol: 25mg